Improving (correcting!) the truck centers on Atlas "second generation" caboose models is a fairly simple and straightforward task; once you start though you will need to complete all of the major steps in order to run your caboose, so hopefully you are comfortable with doing the entire job.
With the relatively good supply of cheap 'victims' this is a good project to gain confidence on. Once you complete the frame modifications you might choose to go on to other 'improvement' areas, but I'll leave those to you. I personally have not done any more, but will probably replace handrails and ladders at some point, if I can match the color of the paint!
1. Identification – or how do I know my caboose in incorrect?
Not all models are the same; this was one case where Atlas originally did things right, and in a 'newer' version made a mess of things. Maybe one day we'll know why. But for now, compare the photo of the prototype caboose (very dang close to the model):
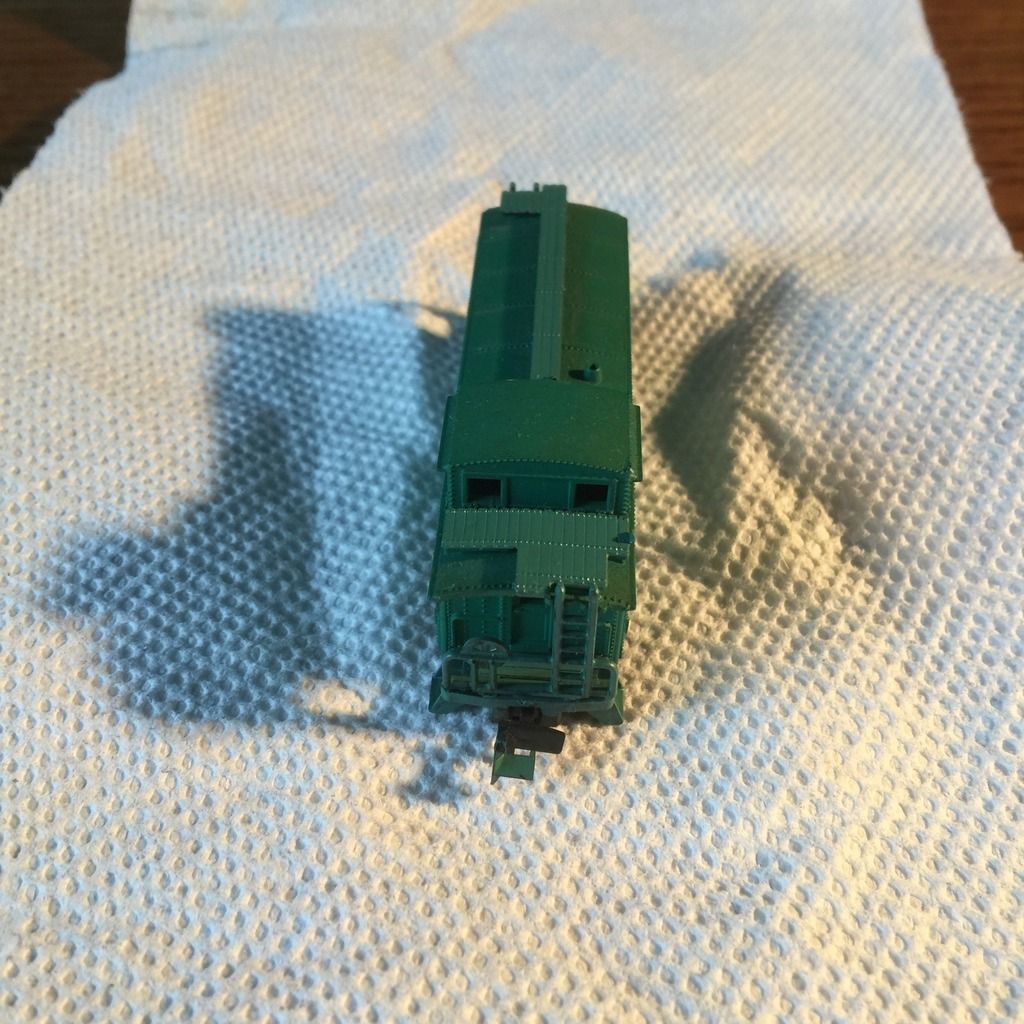
To the photo of the model:
One of my older, but not oldest, Atlas cabeese.
Notice how the truck actually sits up under the steps, and the center (which signifies where the bolster is) does not line up with the nub under the right hand window. An earlier caboose I have has this correct, as well as having body mounted couplers, dating back to the late 1960s! Well ahead of its time for certain. Just one of those annoying things that Atlas did during the 'tween' years that drove a few people I know away from N-Scale.
Below is the "original" (bad paint job and all; what was I thinking!) version of this caboose, albeit with Micro-Trains trucks attached...
This is the look we are trying to achieve, as it is mechanically correct for how the caboose should be.
2. Disassembly
I removed the trucks, the floor from the body, and removed the end rails/ladders to keep them safe. The weight will become the inner floor, and I re-used it to both keep the plastic floor pieces in alignment and to give it strength. You could decide to use a piece of rigid sheet plastic styrene, and cement the floor pieces to it, but in my mind that raises the center of gravity and I was not happy with that. My approach has held up well (until I took it apart for the photos), so it really is down to preference.
3. Floor (frame) modification
With the caboose disassembled, it is time to start cutting.
I made four cuts total, two for each bolster, so that I could turn the bolster section 180 degrees to realign it. "Where" to cut is pretty flexible; in my case I cut almost up to the line where the bolster 'should' be, and as close to it as I was comfortable cutting on the other side. This produced a section like this:
I cleaned up the section with a file and modellers sand paper, and (possible incorrectly) trimmed off the frame section in what is the left hand side of this piece. Later, after looking at photos and drawings of prototype cars, I discovered that perhaps this should have been left in place, and extended to the coupler draft gear area. The resulting gap seems unrealistic.
Drawings of a prototype or actually seeing one in person would have been a big help, but being several thousand miles away makes seeing the real thing tricky at best, and 'pre-Internet' modelling was a bit of a pain in some cases too...
Once you are happy with the cleaning up, test fit the floor pieces to ensure they will all fit. If you manage to get the cut out sections swapped end for end, you might have trouble unless they are reasonable similar sized.
I replaced the end floor into the caboose body (I think I used ACC (super glue)) to fix the weight in place, and then pieced the other sections in place to line them up. If the bolsters will not center on the side nubs (I should really learn what they are called!), trim a bit more off the appropriate section to make everything fit.
See below:
If the bolster sits too far out towards the end of the caboose, trim from the center section instead of the bolster piece, to avoid trimming too much off the bolster itself. On the other end it really does not matter, as this will be out of sight anyway. I have already attached couplers when this was taken, but would do it after the floor was assembled and dry.
Once you are happy with the alignment and fit, attach the three center sections with ACC (super glue) and let dry. I considered using styrene pieces to cover the gaps, but decided against it, as they would do more harm than good visually.
4. Coupler mounting
Coupler mounting is pretty much a standard job; you might need to shim the coupler box down from the floor, so make sure you have decided what to do about the trucks first.
5. Truck modification
If you are happy with the standard truck, all you need to do is remove the coupler box from the truck frame and re-attach. Me, I decided on some of these that Micro-Trains (part 00302140) "Swing Motion" or Atlas (part 22060 for friction bearing, part 22061 for roller bearing) Caboose trucks. I will eventually fit Fox Valley Model's metal wheels, but for now these have whatever was in the trucks I got/had on hand. The IC model still has the original Atlas trucks (as far as I can tell).
6. Re-assembly
Another great area of improvement would be to paint the handrails, and if needed, the roofwalk. These items were often cast in black plastic, and not painted, no matter what the road scheme of the caboose was!
Compare this (different model) ICG caboose:
Notice that the color of the end railings, steps, and even the draft gear matches the body color of the caboose! This is one of the simplest “fix ups” you can do with your equipment to eliminate the “toy like” appearance that is, or thankfully I can say, was, a common occurrence in the hobby for many years.
The color does not have to exactly match the body color for many reasons, such as repairs, aging of the body or railing paint, application of “safety” colors (such as white or yellow). A reasonably close mix can often be made, to avoid repainting and re-lettering the entire car. Additionally, weathering makes a wonderful disguise for the variations in color or finish, or to hide any minor mistakes that might happen during the modifications or decorating.
While doing these paint “fix ups”, don’t forget your other rolling stock. Some freight cars may have minor accessories that can benefit from the paint touch up, one of the most common being roof walk, draft gear box, or brake wheels.
Case in point:
I painted the end platforms and ladder assemblies of this Minitrix body to demonstrate the improvement it can make; compare the results to the Illinois Central car of my project, and the prototype photo above.
Re-attach any details, and sit back and admire your work. That wasn't so bad, was it?
A view of a completed model; hopefully you can see the difference!
Note: I originally wrote this for an N-Scale community site several years ago. The abundance of better quality models has made this kind of project less appealing for some, but there is no reason why any modeller should be afraid to make simple modifications to rolling stock, especially if it helps them reach a particular goal, such as an unusual or unavailable prototype. These older caboose models can often be purchased on line or at model train and toy sales, and I as I mentioned, are great "first" projects to gain confidence on. Feel free to leave a comment or contact me (you may need to register first) if you have any questions.
N-joy!
